How Easy Is It to Install a SEPCO Solar Lighting System?
Contents
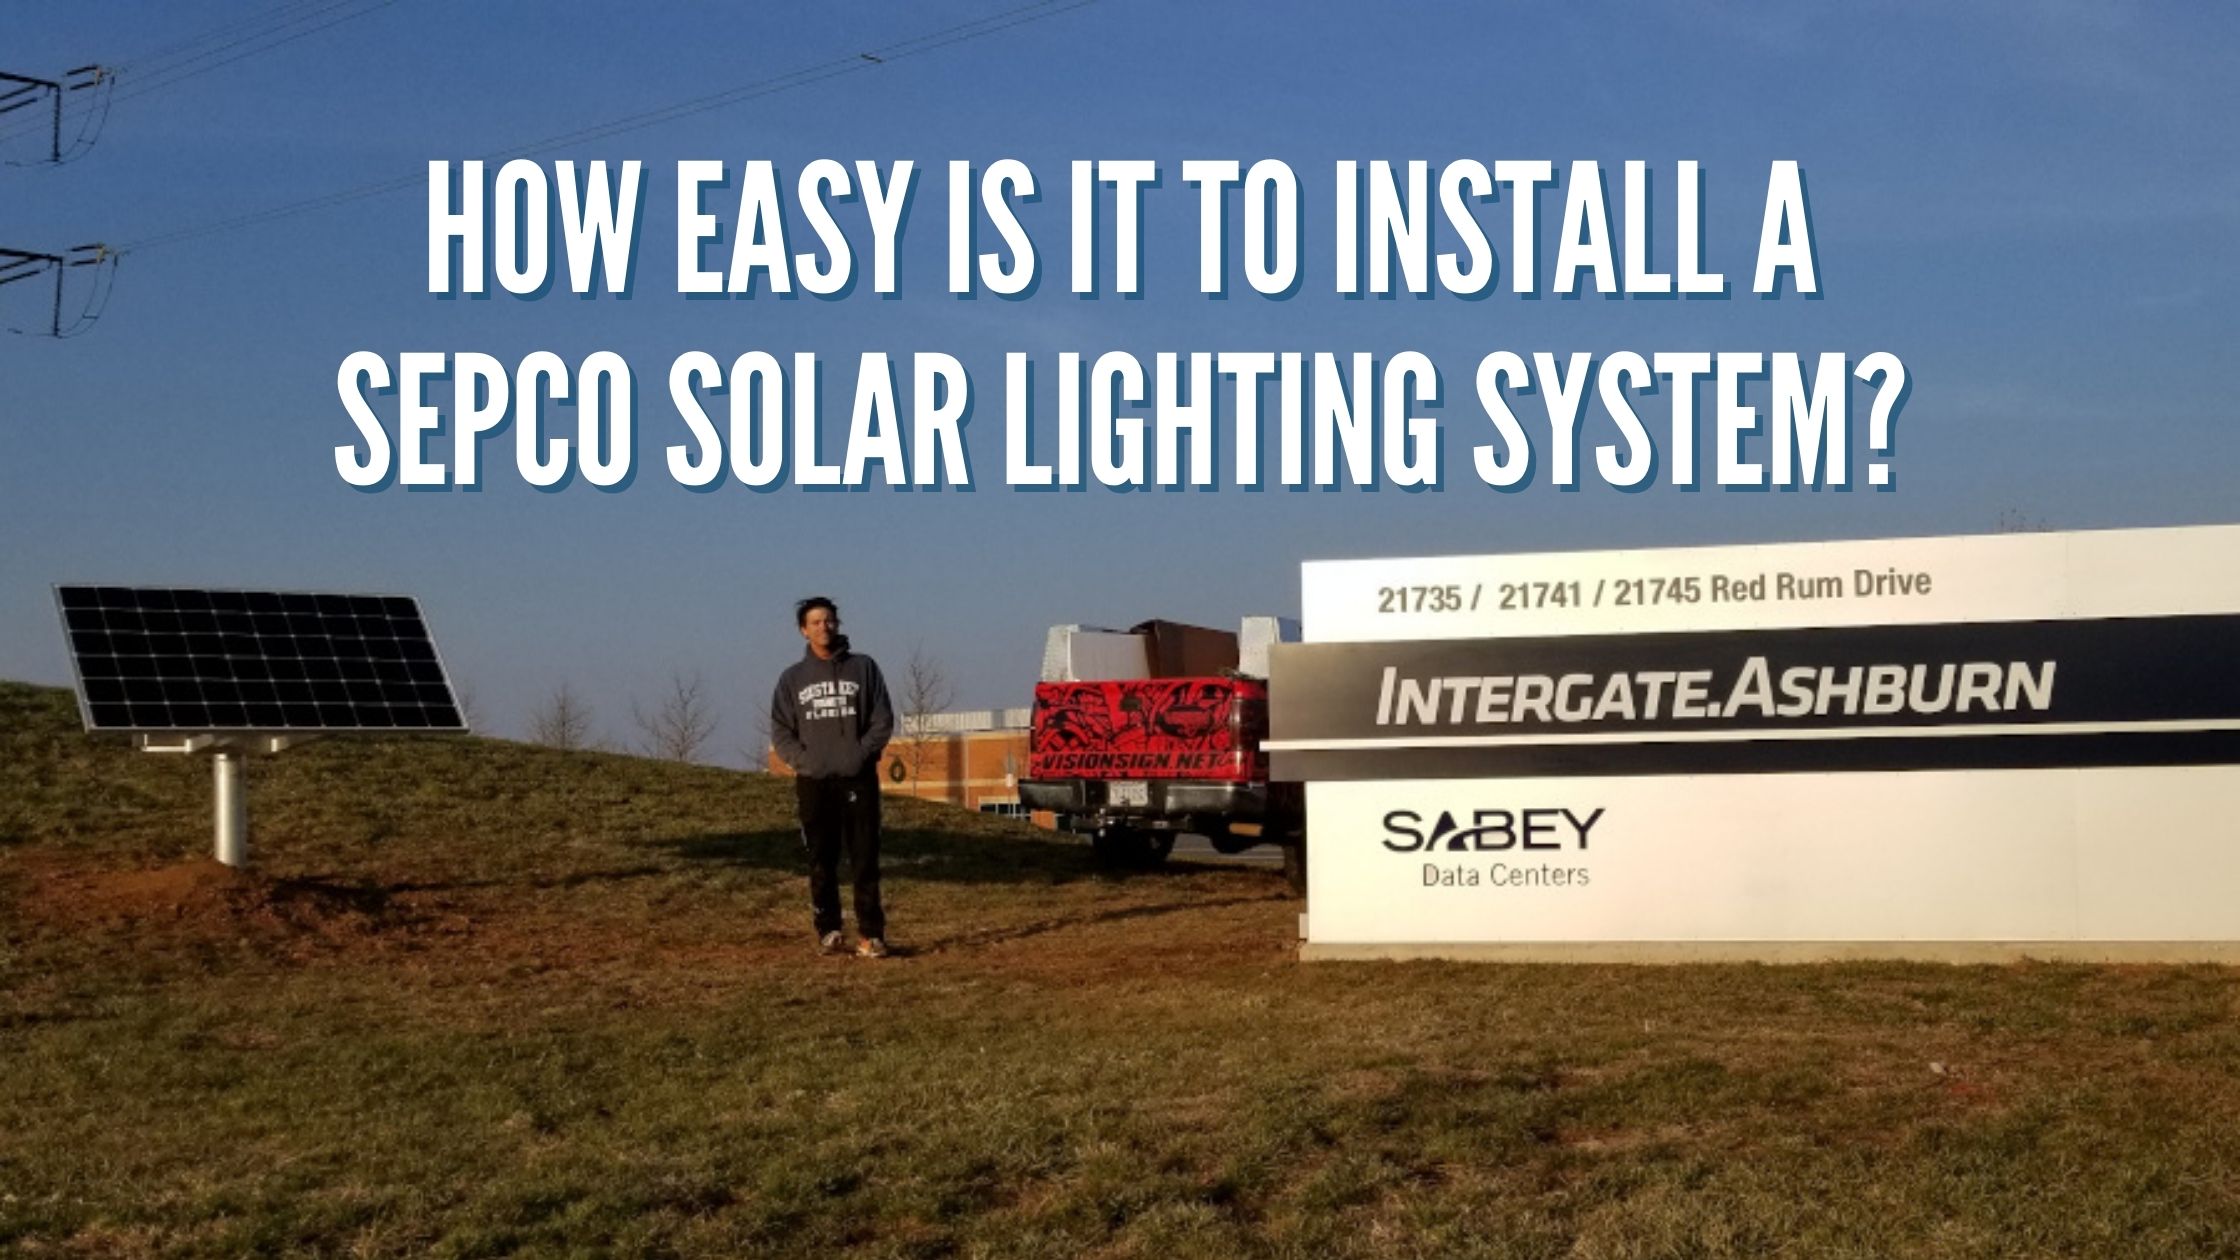
So, you ordered your SEPCO solar lighting system and are awaiting the shipment to arrive. Once it shows up, it will be on one or more pallets, depending on the system size and how many were ordered. Once it arrives, all packages have been inspected, and the components are ready for installation, the best thing to do is go back through the installation manual for a quick read. These can be found digitally by your sales manager or on the pallet in paper format.
Tools for Installation
Once you have read through the instructions, gather any tools necessary for installation. There aren't many tools required – only a few items, including:
- Adjustable Wrench
- Socket Set, 5/16, 7/16, 1/2, and 3/4 sockets
- Screwdriver (Flat and Phillips)
- Wire Stripper
- Wire Nuts
- Drill and Drill Bits up to 3/4"
- Compass to Orient the Solar towards the Equator
- Gloves
- Safety Glasses
- Wire & 1/2" Diameter Bolts (included with some projects)
SEPCO includes the wire and bolts for all projects with a SEPCO pole. The only exception is when the solar is remote from the fixture; you, the installer, will provide the wire. Standard 14/3 SJO wire is used in most applications on the pole; however, other types and gauges of wire can be used for various other applications. Consult the factory if you are questioning which is the best wire to use for your installation.
Pole and Pole Base
By this point in the process, if you are pouring a foundation for a pole, the foundation should already be completed and set. However, we wanted to run through the guidelines for poles and pole bases just in case.
The pole comes predrilled from SEPCO for the solar power assembly. This means the anchor base plate of the pole base must line up so that one of the flat edges of the anchor base pole aligns directly south. This only is required for a traditional anchor base pole. Post-top solar panel mounts or any direct embedded poles do not have these restrictions. This allows for the holes to line up and point directly north and south. The solar panel is installed on the south side, while the battery is installed on the north side of the pole.
If the pole is directly embedded, follow manufacturer guidelines and local requirements for burial depths and backfill requirements. SEPCO does not provide this information, and a local professional engineer should instead provide it as they understand the soil conditions along with other factors.
Every SEPCO-provided pole is engineered to handle the weight and EPA of the solar system with the local AASHTO wind load requirements. When the pole is designed, the solar's weight, EPA, and the installation location's zip code are provided. All calculations are based on that information. This is why it is key to understanding the installation address for a solar lighting project.
For every installation, the predrilled holes in the pole should always line up directly with a North / South orientation. The pole should be placed to hold the panel in a location that remains unshaded throughout the day. Any shade caused by trees, power wires, other poles, or buildings can cause the system to malfunction. The installation location picked out for the solar must be free from all shading concerns or it should be altered in some way, either by relocating the solar to a more sunny location or trimming / removing obstacles that could cause shade. The solar must have full access to sunlight from 9 am to 4 pm year-round.
Install the Solar Power Assembly
Installing the solar on the pole is the next major step. The solar comes with three main components; the solar array, battery box, and solar bracket.
The bracket is the first thing to install, including the battery box if it is with the solar panel, or alone if the battery is mounted low on the pole or in a separate location. This gets mounted to the pole using 1/2" through bolts that mount the bracket to the pole on the south side of the pole and the battery box on the north side of the pole.
Then the array is attached using the included 5/16" x 3" bolt kits included with every system. The array has a pan with a channel on the back of the panel that fits into either a single or double-bracket configuration. With our largest systems, large square tubes are inserted into the bracket first to extend the bracket's ability to handle two panels instead of a single panel.
Once all components are secure to the pole, the wire is then fed through the hole from the back of the battery box, into the pole, and down to the load. The solar panel MC4 wires are connected to the wire harness provided using the knockout on the back of the battery box. The wire can also be fed inside the pole using the hole provided on the other side, opposite the hole in the back of the battery box.
Installing the Fixture and Fixture Bracket
The solar light fixture bracket is field drilled to allow for 360-degree orientation, separate from that of the solar. Since the solar must face directly south, allowing the fixture to be field-oriented allows for a smoother installation process.
The fixture bracket has either one or two holes that need to be through-drilled using up to a 3/4" drill bit. Mark the bracket hole locations on the pole where it needs to sit, then drill through the pole to mount the fixture arm. Once installed, the load wire from the battery box can then be pulled through and extended out to connect to the light fixture.
Installing the light fixture is a breeze. Follow the label on the fixture to connect the wires and mount the fixture per the configuration. Make sure to tighten all screws and bolts so that the fixture is secure to the fixture arm, making sure not to pinch any wires during this process.
Solar Battery Box Setup
Once the load has been hooked up, it is time to return to the battery box and ensure all wires and connections are correct. The provided wire harness is pre-mounted inside the battery box. Following the provided wire harness instructions, install each battery and connect it using the included battery connection cables. Make sure to put on the red terminal cover for the battery-positive side.
After connecting the battery harness connection cables to each battery, place the batteries into the enclosure with the terminals towards the rear. Once the battery connection is completed, it is time to plug everything together. This must be followed in a specific order provided by the installation guide from the factory.
Solar for Roof Installations
There are cases where solar is installed on a roof. There are two main types of roof mounting systems. The first uses a standard market bracket to mount the panel flat on the roof and keeps the solar panel at the same angle as the roof structure. The small brackets provided for these installations mount using the railing of the solar panel and are then attached using screws. Some care still needs to be taken, such as ensuring the solar panel is facing south; however, there is more flexibility as to where exactly the panels attach.
There is also a way to mount the solar panel using the triangular bracket that is provided with our larger systems and some additional square tubing. This is good for flat roof installations where the solar must still sit at a 45 degree angle.
Conduit is then run down to the battery box, which is installed anywhere nearby, per the installer's discretion, and all connections remain the same as with a pole-mounted system. The battery box is typically installed using togglers or through bolts to a post or some other part of the structure.
Remote Solar Installations
There are other types of installations where the solar is mounted remotely from the light fixture or load. These can be pole mounted and would install just like our traditional light systems, with the load being separate. The load wire is then run to the fixture, sign cabinet, or whatever device the solar power unit operates.
Our systems are designed to be installed up to 100' away from the load, depending on voltage drops and other factors that need to be considered. This is perfect for applications where the light fixture or load needs to be located in a shady environment, but the solar requires access to full sun. A remote solar power solution allows for installations such as this.
As you can see, some things must be completed in the field when installing a commercial solar lighting system; however, it isn't much harder than a traditional light installation. The good news is you are working with low voltage connections; everything is either 12 or 24-VDC, making it safer than traditional line power. Also, all connections tend to stay very close by with little to no requirement for running electrical lines far from the power source. So now you can see how easy it is to install a SEPCO solar lighting system on your next project.