Contents
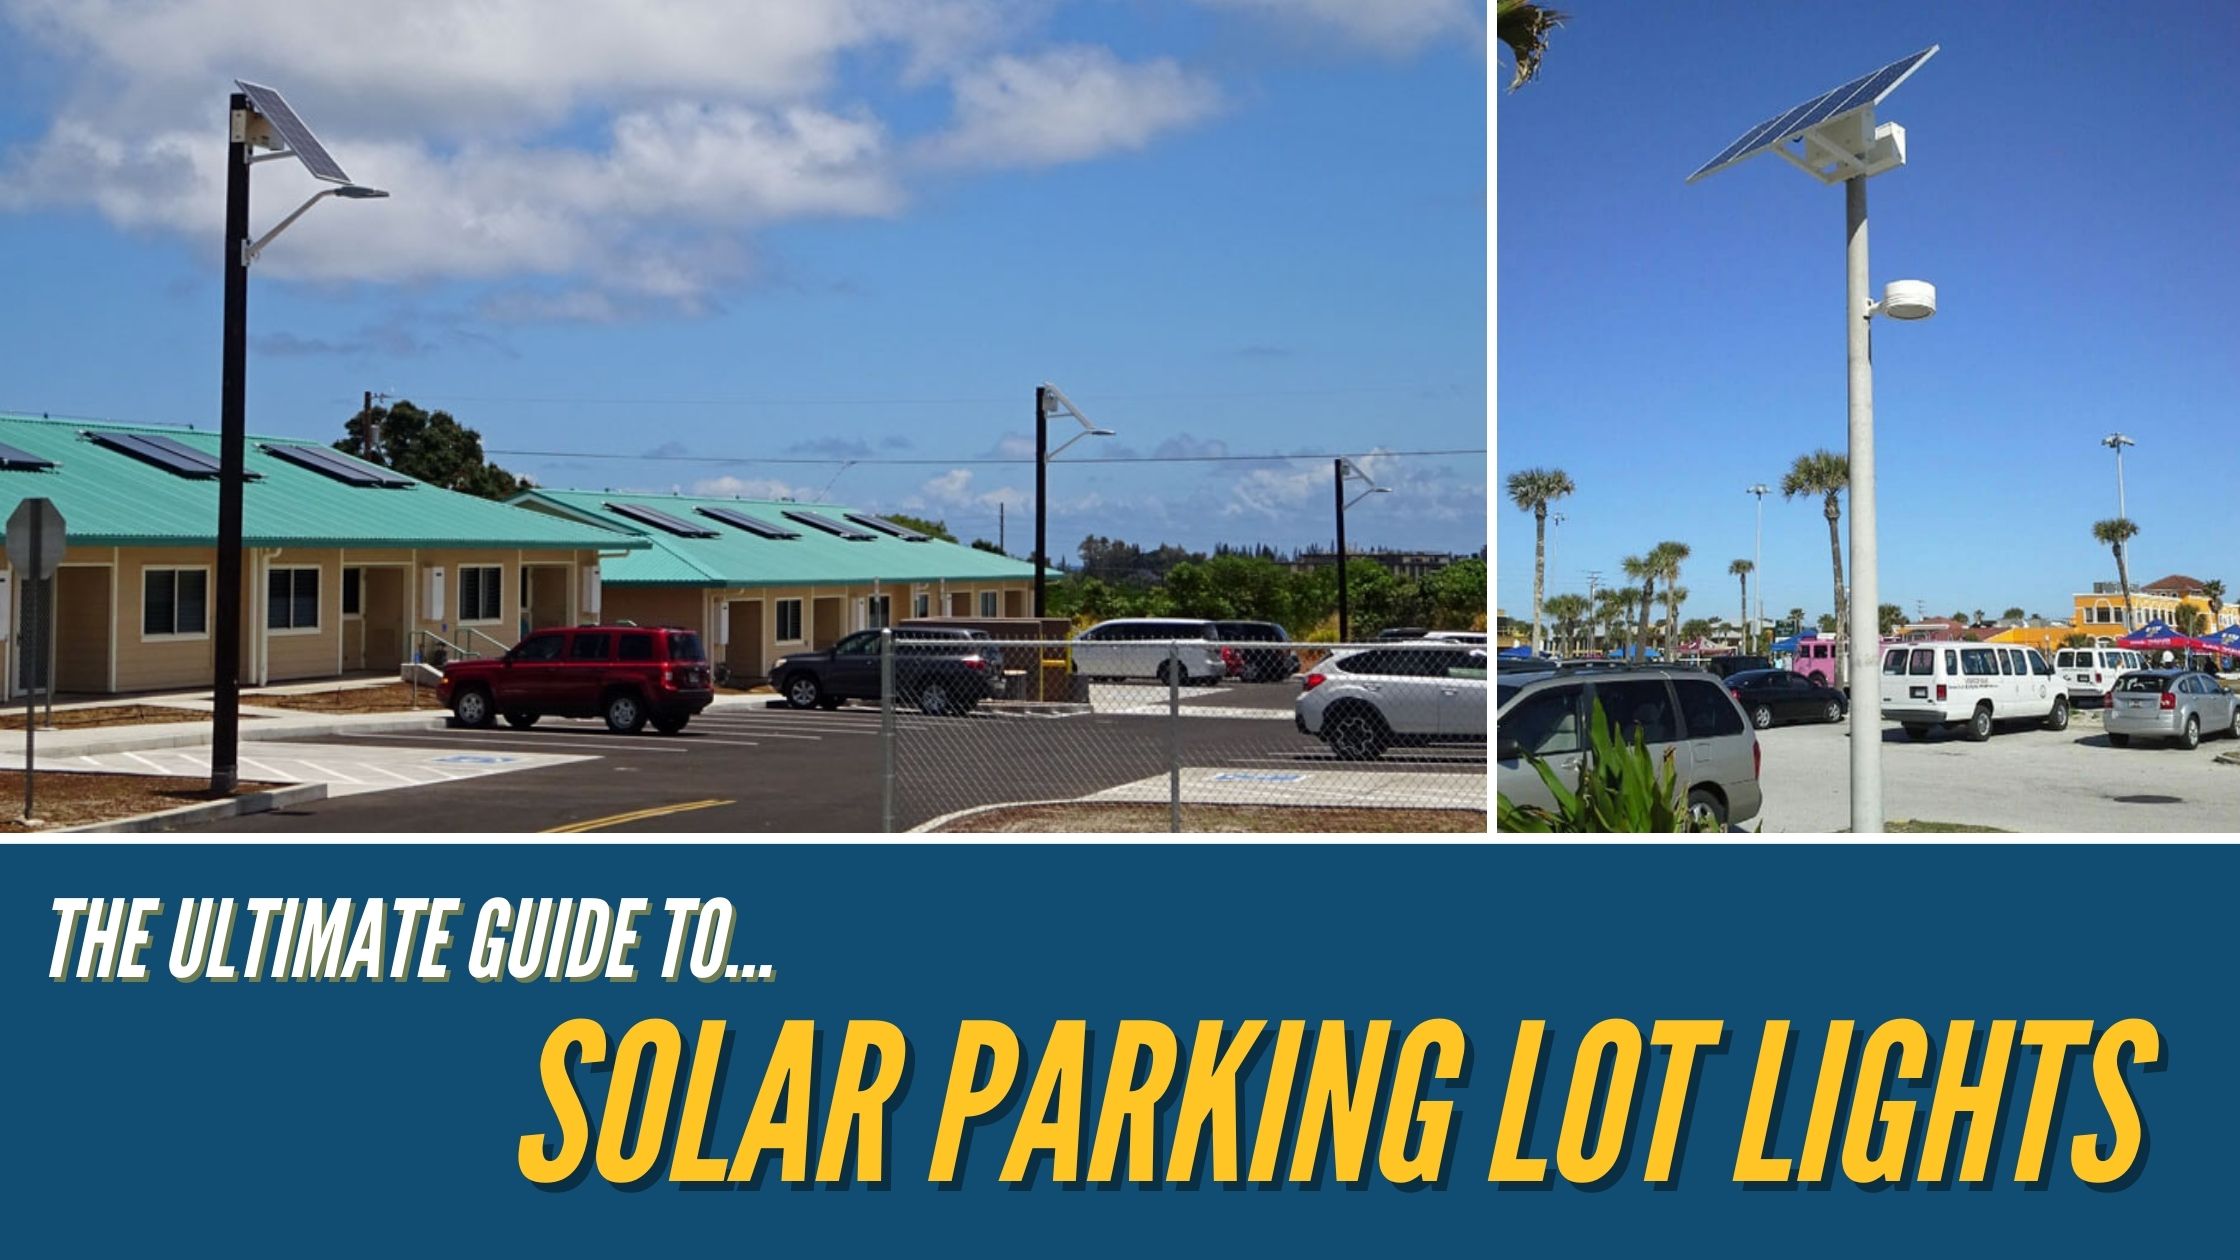
Solar parking lot lights are a great way to provide lighting to an area without trenching in traditional grid power. As a result, solar LED parking lot lights can lower installation costs, reduce the need for tons of wiring, and reduce the maintenance and project costs over the system's life. And since they are independent of the grid, you don't have to worry about problems down the line affecting every light, such as blackouts or breaks in the underground lines.
A reputable solar lighting manufacturer completes many steps to ensure proper illumination is provided while providing the correct solar power assembly for the operation of the fixtures. Solar lighting manufacturers work with lighting engineers and designers to ensure light levels are met for specific applications. They also look at other sets of information, such as solar insolation, to make sure the lights are appropriately sized for the project. Let's look at these steps and other factors used for designing solar parking lot lighting projects. By making sure best practices are followed, solar parking lot light systems can be a significant investment, paying for themselves quickly and providing an excellent ROI for years to come.
Commercial vs. Decorative Fixture Styles
There are two central systems used for solar parking lot lighting projects. These include decorative systems and standard commercial systems. Depending on the look required by the architects designing the project, a square or oblong commercial fixture can be used, or a bell or post-top style fixture is used.
Today, many light fixtures offer the same light output, whether decorative or not. The light output allows many solar parking lot lighting systems to adapt to the architectural needs of the project. Instead of being constrained by only having a handful of fixtures that provide the light output and distributions required to illuminate an area properly, most fixtures utilize the same LED board across a range of styles to offer the same lighting with minor differences. This diversity with solar lighting systems opens a world of projects available to use solar.
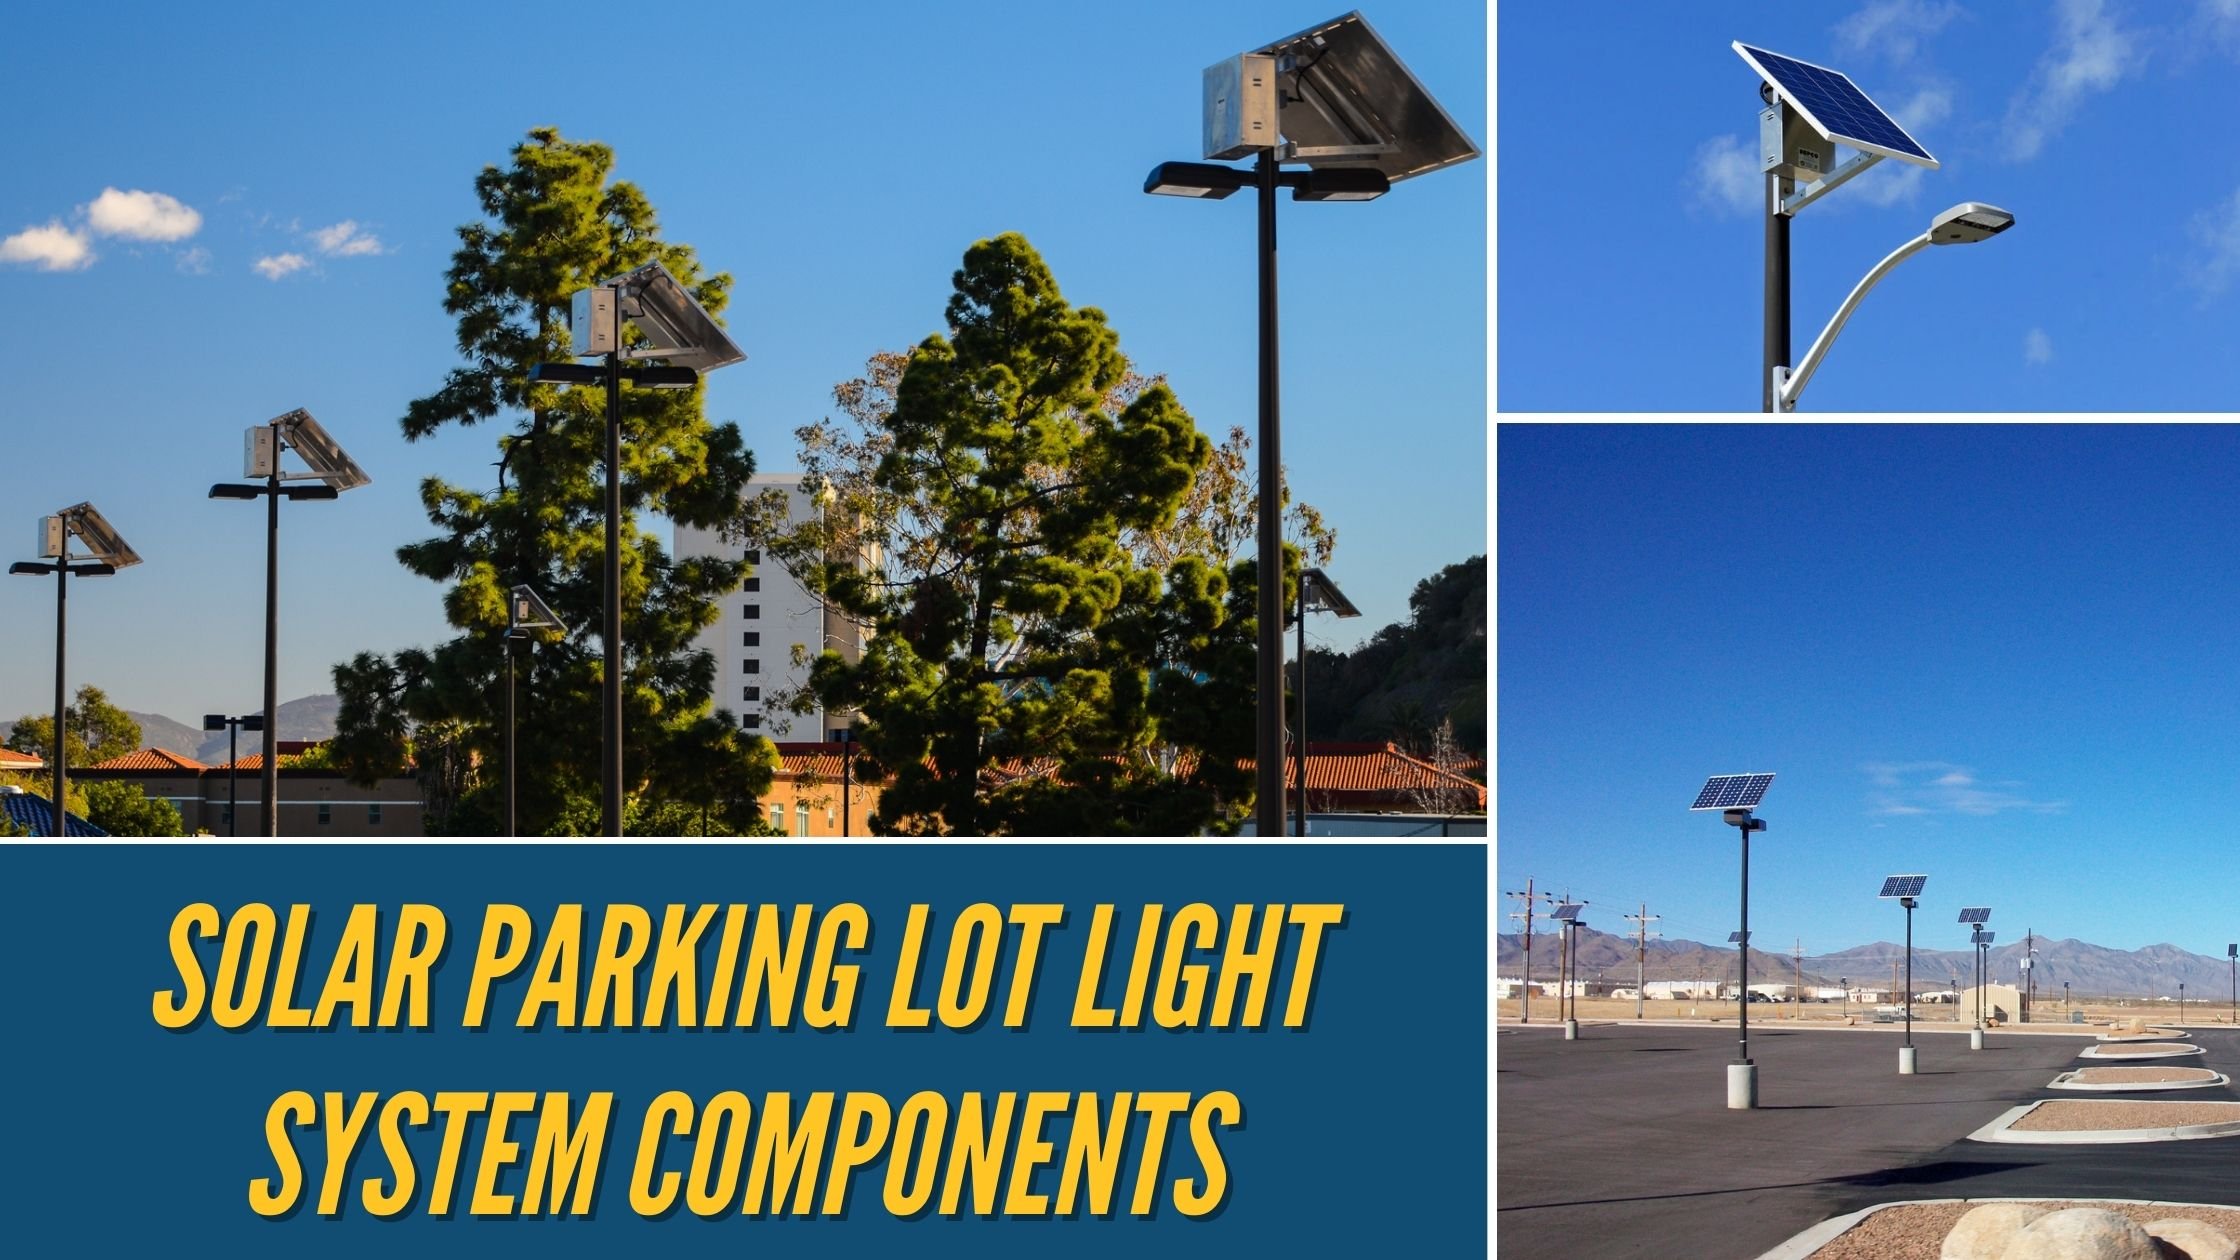 Solar Parking Lot Light System Components
The components that make up a commercial solar parking lot light are similar to other commercial solar lights. Each light consists of a solar power array, battery backup, DC light fixture, controller, fixture bracket, and a pole. Everything exists on one pole with the power located at the top of the pole facing south and the light fixture below, typically on a few feet below the solar, and mounted to face the direction required to provide the light in the correct area.
Understanding these components and how to decide if they are appropriately manufactured will help you determine if the system you install will last. So let's look at each of those components in some detail.
Solar Power Assembly
The solar power assembly is comprised of rigid solar panels, a metal framework, and some bracketry for mounting on the pole. The bracket should attach to the framework properly and stand up to high winds, snowfall, and other weather conditions that may occur.
The solar should be sized up correctly to ensure plenty of charge is provided, even in the worst-case scenario. Even on cloudy days, there is some solar charge that will occur. Making sure that the solar can provide enough energy to recharge the batteries will ensure that the system will operate night after night without fail.
Solar Battery Backup
The solar battery backup needs to be adequate to safeguard the system has more than one or two nights of energy supply. This is because there are more than one or two days of bad weather during some times of the year. So instead, a minimum of five nights backup is used by most commercial manufacturers. This storage ensures that there is always plenty of backup power for times of inclement weather. This also allows the battery life to last upwards of five to seven years, making maintenance cycles to be reduced, lowering maintenance costs over the life of the system.
The battery backup can be comprised of a GEL cell battery, an AGM battery, and in some cases, even a lithium-ion battery. Lithium is still very expensive, costing upwards of three to four times a GEL battery cost, and only provides around 2 to 3 years more of a lifespan. This type of battery is just not cost-effective yet; however, as battery technology improves and the demand increases, the costs should start to reduce in the upcoming years, making them a more feasible option.
Solar Light Fixtures
A solar fixture is a particular fixture that operates off DC power. Most manufacturers have their line of fixtures and do not work with fixtures outside their main line. This is because extensive testing has been completed, and warranties exist for all components.
A solar fixture is also more energy-efficient than its AC counterparts. This efficiency is because the LEDs operate off the DC power provided by the solar by default, and no AC power adapter is required. This efficiency lowers the power requirement for the same amount of light because you aren't wasting power by converting it from one to another. This also reduces the heat produced by the fixture.
Solar Controls
The controller acts as a gateway for the solar lighting system. It tells the batteries when they should be taking on the charge provided by the panels. It then will tell the batteries to operate the fixture when the panels stop producing power. The control makes sure that the batteries are not overcharged during the day and drained beyond a specified amount at night. All this control keeps the system operating at peak performance and increases the system's lifespan.
Solar Fixture Bracket
Brackets are almost always required for solar lighting installations. This is because the solar is almost always mounted to the top of the pole and the fixture needs to be mounted lower on the pole. The fixture bracket allows the fixture to mount directly to the same pole and out away from the pole at times. Brackets can be decorative for post top or pendant mounted fixtures or straight and upsweep arms for Cobrahead and shoebox style fixtures.
The bracket also allows the fixture to be oriented properly, not constrained by the solar orientation. This is great as the solar must face directly south (or towards the equator), which doesn't always allow the fixture to face the correct direction if it is attached to the panel – here's looking at your all-in-one solar manufacturers.
Solar Light System Poles
The poles provided for standard light applications are quite different from what is provided for a solar lighting system. Solar poles are typically very large, with a 4-6" tip and an 8-14" base, and should always be round. Square poles don't allow for mounting the solar and fixture in any direction and tie you to four.
Standard light poles are too weak to handle the weight and EPA of the system and can quickly fail, falling over and damaging property, and putting people in harms way. This is all before a high wind or snow event, which can be even more dangerous if the pole is not manufactured specifically for the project.
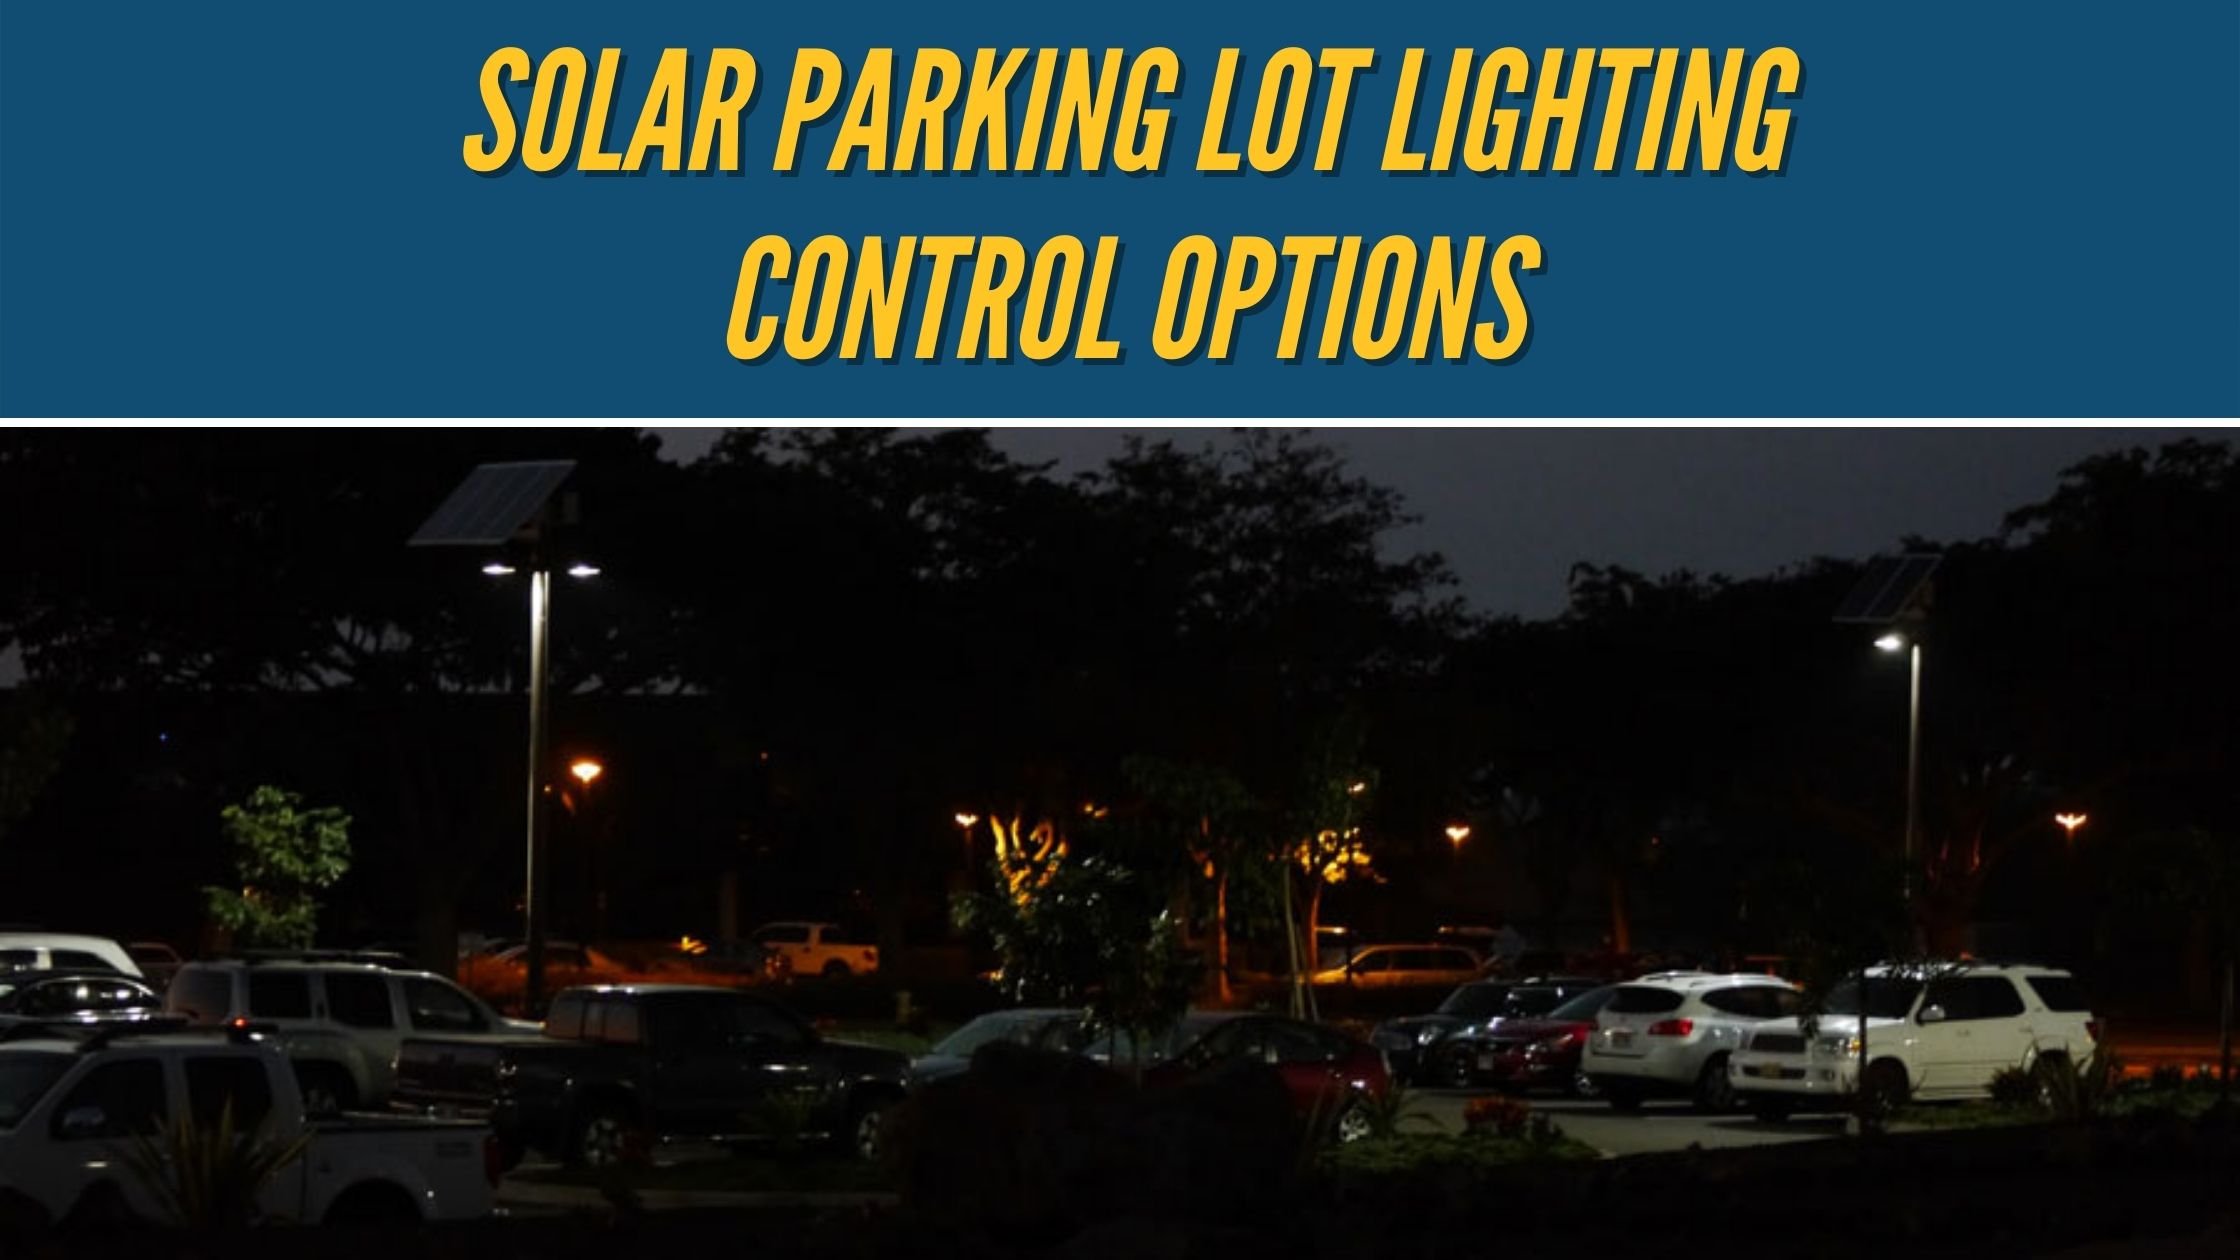 Solar Parking Lot Lighting Control Options
Several control options are available for solar parking lot lighting projects; however, dusk to dawn is still the most popular because of the old way of thinking about lighting with grid power. Since grid power is always there, why not have the lights be on all night. Many municipalities are starting to catch on to this and are implementing codes to reduce the grid consumption by having the lights decrease in intensity or turn off altogether in some areas.
With off-grid solar parking lot lights, dusk to dawn would require the largest power assembly, and unless you have activity all night, there isn't a reason to have the lights on all night long at full intensity. Instead, dimming is a great way to reduce the solar requirement or increase the high-intensity wattage and provide more light when active.
Another great option is using split time operation. This operation allows the lights to come on at dusk year-round and then shut off after a set period, say after a facility closes. So, if the facility closes at 8 PM, the lights will shut off at 10 PM to ensure no more activity would require light. If the facility opens again at 6 AM, the lights will come on at 5 AM to provide plenty of light for early people. The off-time then requires no solar power and reduces the need for larger systems or allows for brighter lights when active.
Each of these different operation profiles provides a way to control the lights that work for a specific application. For example, in some cases, having the lights on all night will be required, while others are not. If shift changes are the only time when the lights need to be on during the night, a motion sensor can also be added. Motion sensors allow the lights to come on or back up to full intensity during times of activity, then turn back off or reduce once the movement has died back down.
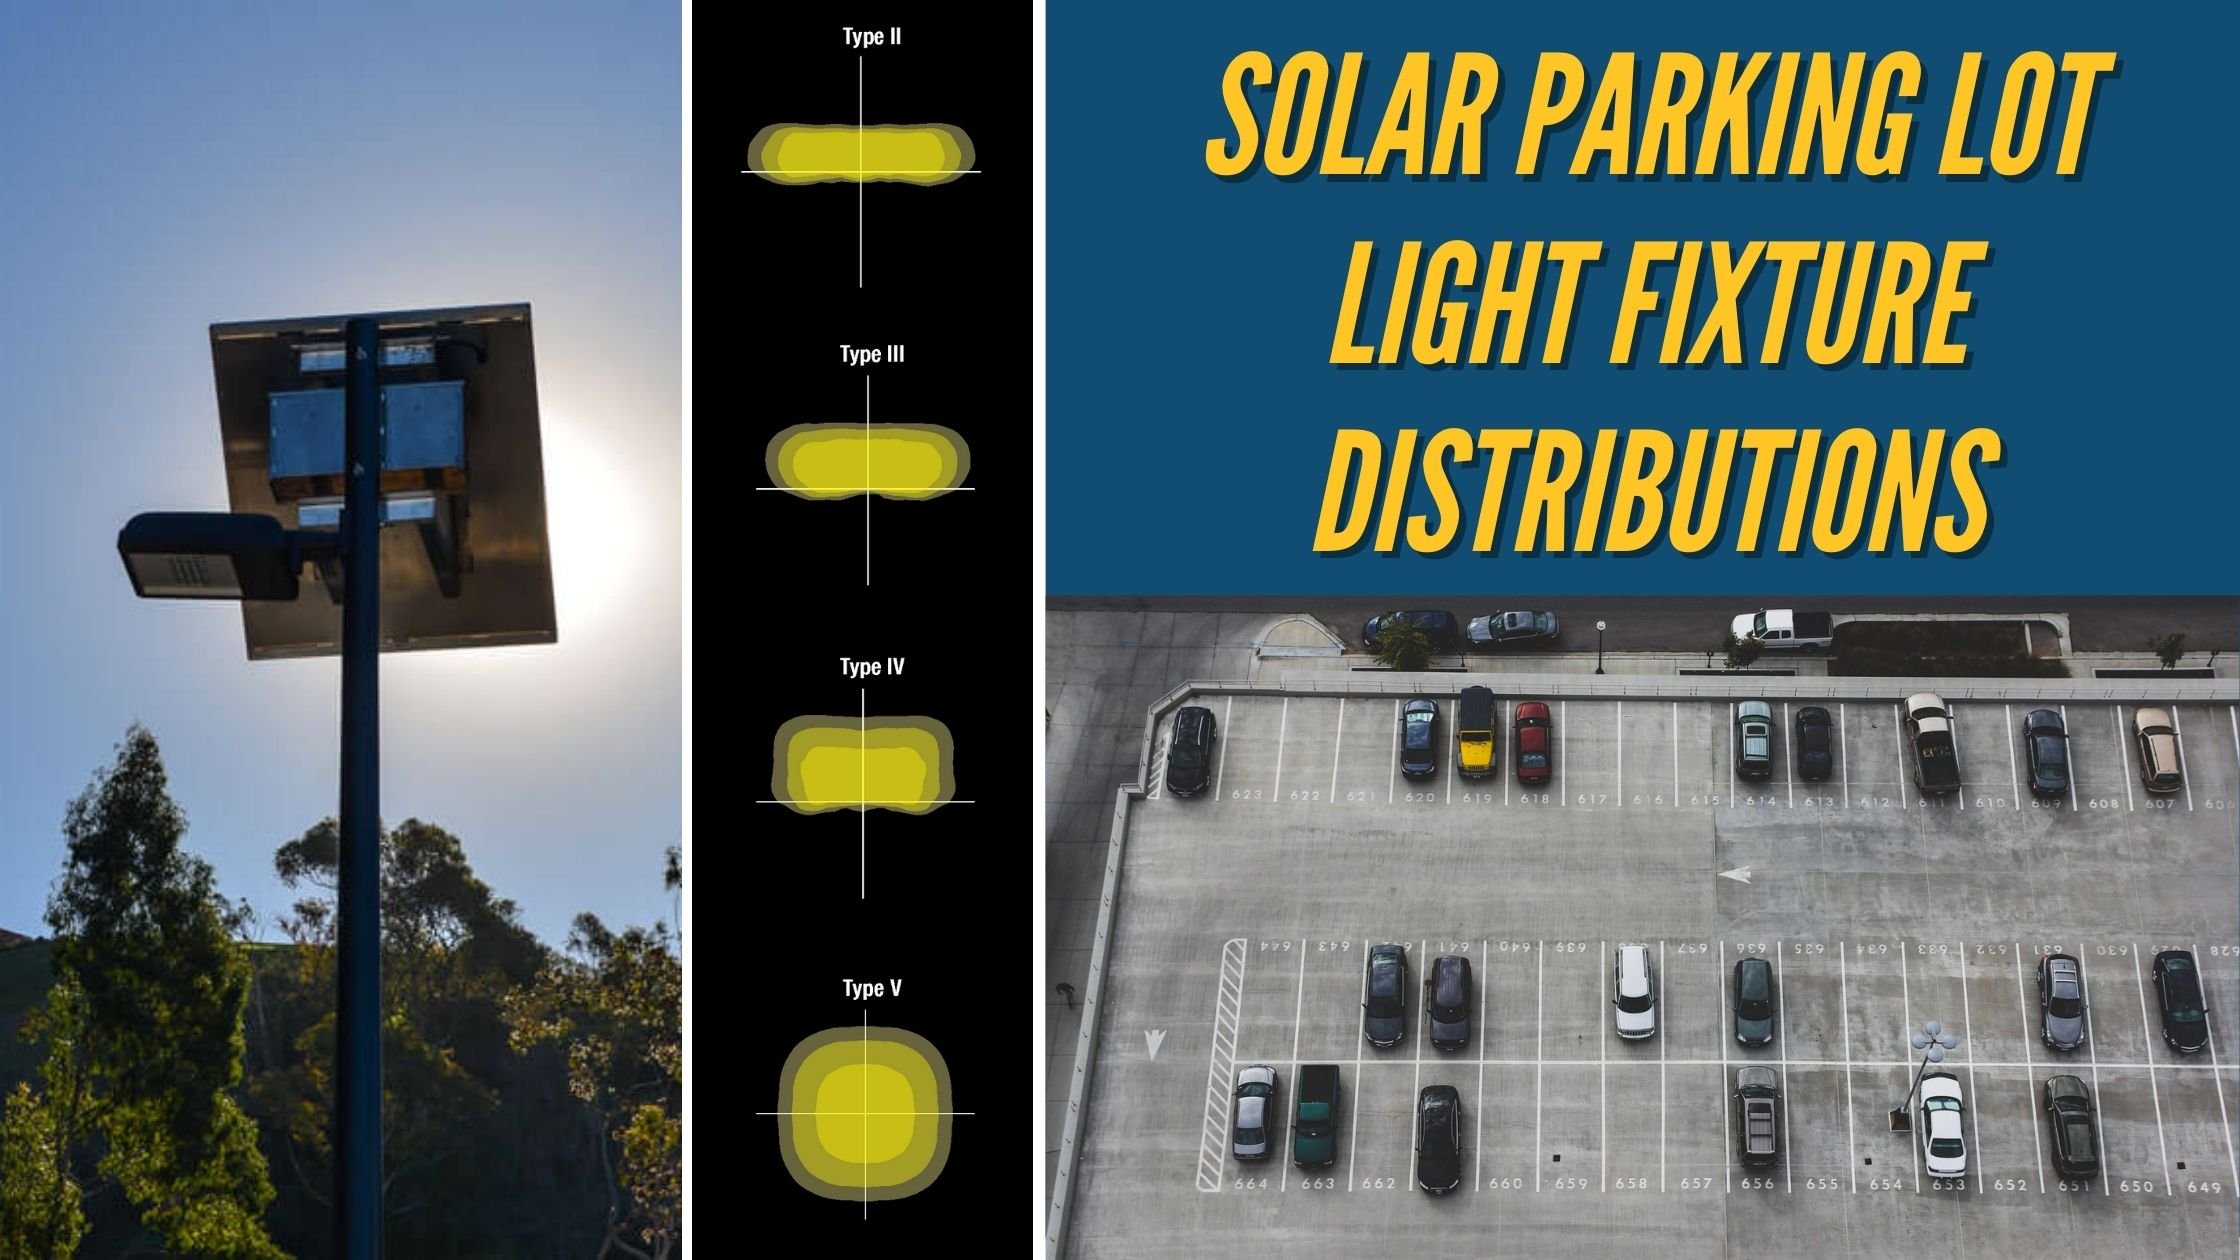 Solar Parking Lot Light Fixture Distributions
In today's market, LED fixtures to come in many different distributions. Therefore, there is an option for any section of the lot from front row optics to type 5 square or round optics.
For example, if you have a long linear lot, adding light to one side and using type 2 will allow the light to focus on a long linear fashion. However, if you have a very large lot that requires multiple poles to be placed along a perimeter and in the center islands, many distribution types will be used.
Having a reputable company provide you with a lighting plan ensures that they have used all distributions to their advantage and provided you with the best light setup possible. The light plan also ensures that the light fixtures they recommend at the specific wattage they are using will be enough to illuminate the parking lot properly. IESNA parking lot standards explain how the lighting in parking lots setup should be, how to evaluate the area, and what light levels are required for different parking lot applications.
The lighting plan can also provide a good overview for installers to understand where each pole should be located and which fixture goes to which pole location. For example, you don't want to mix a type 5 distribution with a type 2 and put it on the outside edge of a lot. Ensuring the correct fixtures are installed in the right place is key to ensuring the illumination is accurate, and the lighting plan will assist with this.
Solar Parking Lot Lighting Brightness
Determining the brightness of the solar parking lot lights will make sure that the light levels required by the project are met without blinding people or having dark areas around an area. In addition, there are differences between light output and wattage that are now being understood more clearly by lighting designers.
Wattage refers to the power required to produce a specific light output. The fixture lumens provide the actual information about the light output. One 50-Watt fixture can vary significantly from another 50-Watt fixture due to lumen per watt, optics, CRI, and other factors. Therefore, a reputable solar parking lot lighting system manufacture will not choose an arbitrary wattage for a project but instead look at the project using foot candles produced on the ground and over a site.
The CRI also plays a role in the light output. In some cases, a 3K or 4K is more widely used where most installed LEDs are on the 5K spectrum. The 5K CRI is used because better visibility is needed for projects such as parking lots. In parks or applications where 5K isn't required, reducing the fixture's color provides less strain on the circadian rhythm of the inhabitants of the area.
In some cases, wildlife-friendly lights are also required. These orange lights remove the blue light out of the spectrum and do not affect the animals of an area, especially sea turtles and migrating birds. Finally, full cutoff fixtures are always recommended as they only produce light where required, on the ground, and not wasted in the sky.
SEPCO works to provide a solar solution based on foot candles on the ground versus a pole count. We look to ensure proper illumination is provided across the site with good averages. This type of lighting plan ensures that proper illumination is provided without dark areas or hot spots. Depending on many factors, such as ambient light levels, project location, and lighting zone requirements for illumination.
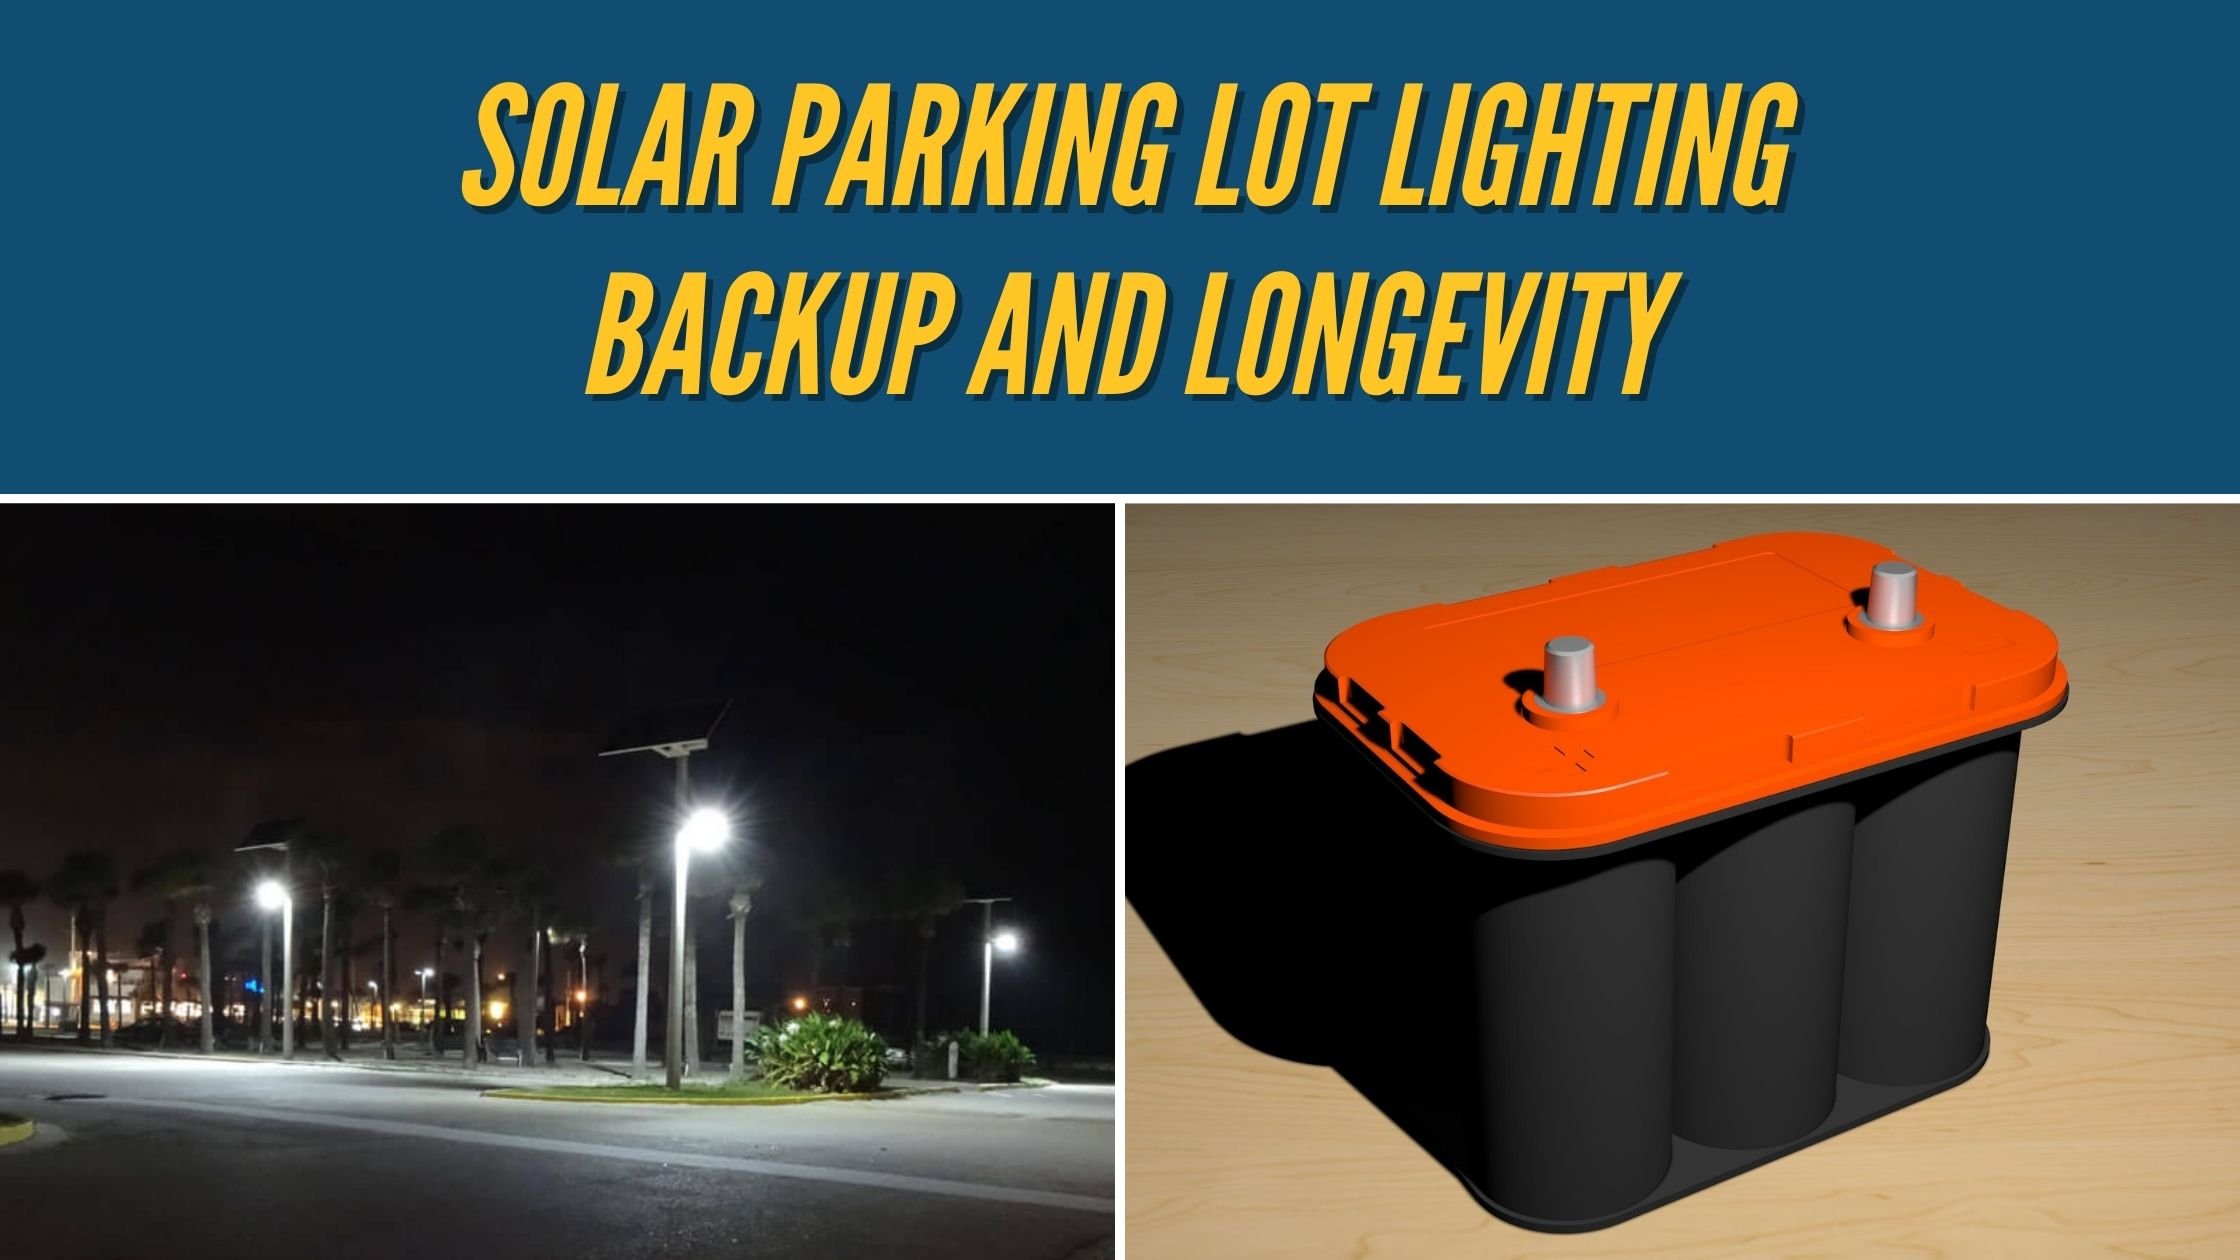 Solar Parking Lot Lighting Backup and Longevity
Some off-the-shelf systems you can find on the market today have a short backup, and therefore, a shorter lifespan. In the commercial line, this is not recommended. Not everyone has perfect weather year-round, and therefore, should have some backup for times of inclement weather.
SEPCO provides a minimum of five nights backup for many reasons, but one of the biggest reasons is system longevity. A solar panel can be operational for 30+ years, and the other components should meet that lifespan.
With a minimum of a five-day backup, the system has a maintenance schedule of once every five to seven years or five maintenance times over the system's life. This maintenance schedule keeps costs low and provides an excellent routine to checkup the system. Controls, fixtures, and other components can last 15-25 years. So about halfway through the system's life, a changeout of other components may be required, but with advances in technologies, this is being extended.
Lithium vs. GEL Cell Batteries
As discussed earlier in this post, lithium is becoming popular. Still, people are skimping on the backup because these types of batteries can be fully drained without causing a loss in lifespan. This cheapens the system and reduces the lifespan and reliability of the solar parking lot lighting system. This reduction of storage is especially serious in high-security areas or where the safety and security of the people in the area are crucial. If using lithium, having a good backup is still vital to the system's operation.
GEL cell batteries should only have a discharge of 20% per day to have a good lifespan. These are a more economical way to provide storage for the solar lighting system and can handle extreme temperatures, unlike their lithium counterparts. GEL batteries operate from -40°F to 122°F (-40°C to 50°C) and are typically stored inside vented battery boxes. These battery boxes are installed behind the solar, keeping them shaded and cooler.
Additional storage is typically calculated in cold climates due to the depth of discharge changes with GEL batteries. The optimum temperature is anything over 68°F and reduces as temperatures reduce. At -4°, the capacity is reduced in half; however, this is the temperature inside the battery cabinet, not just the outside temperature. Understanding that in colder climates, additional days of storage allow for the capacity to stay within the 20% depth of discharge per day or less and ensures reliability of the system for inclement weather.
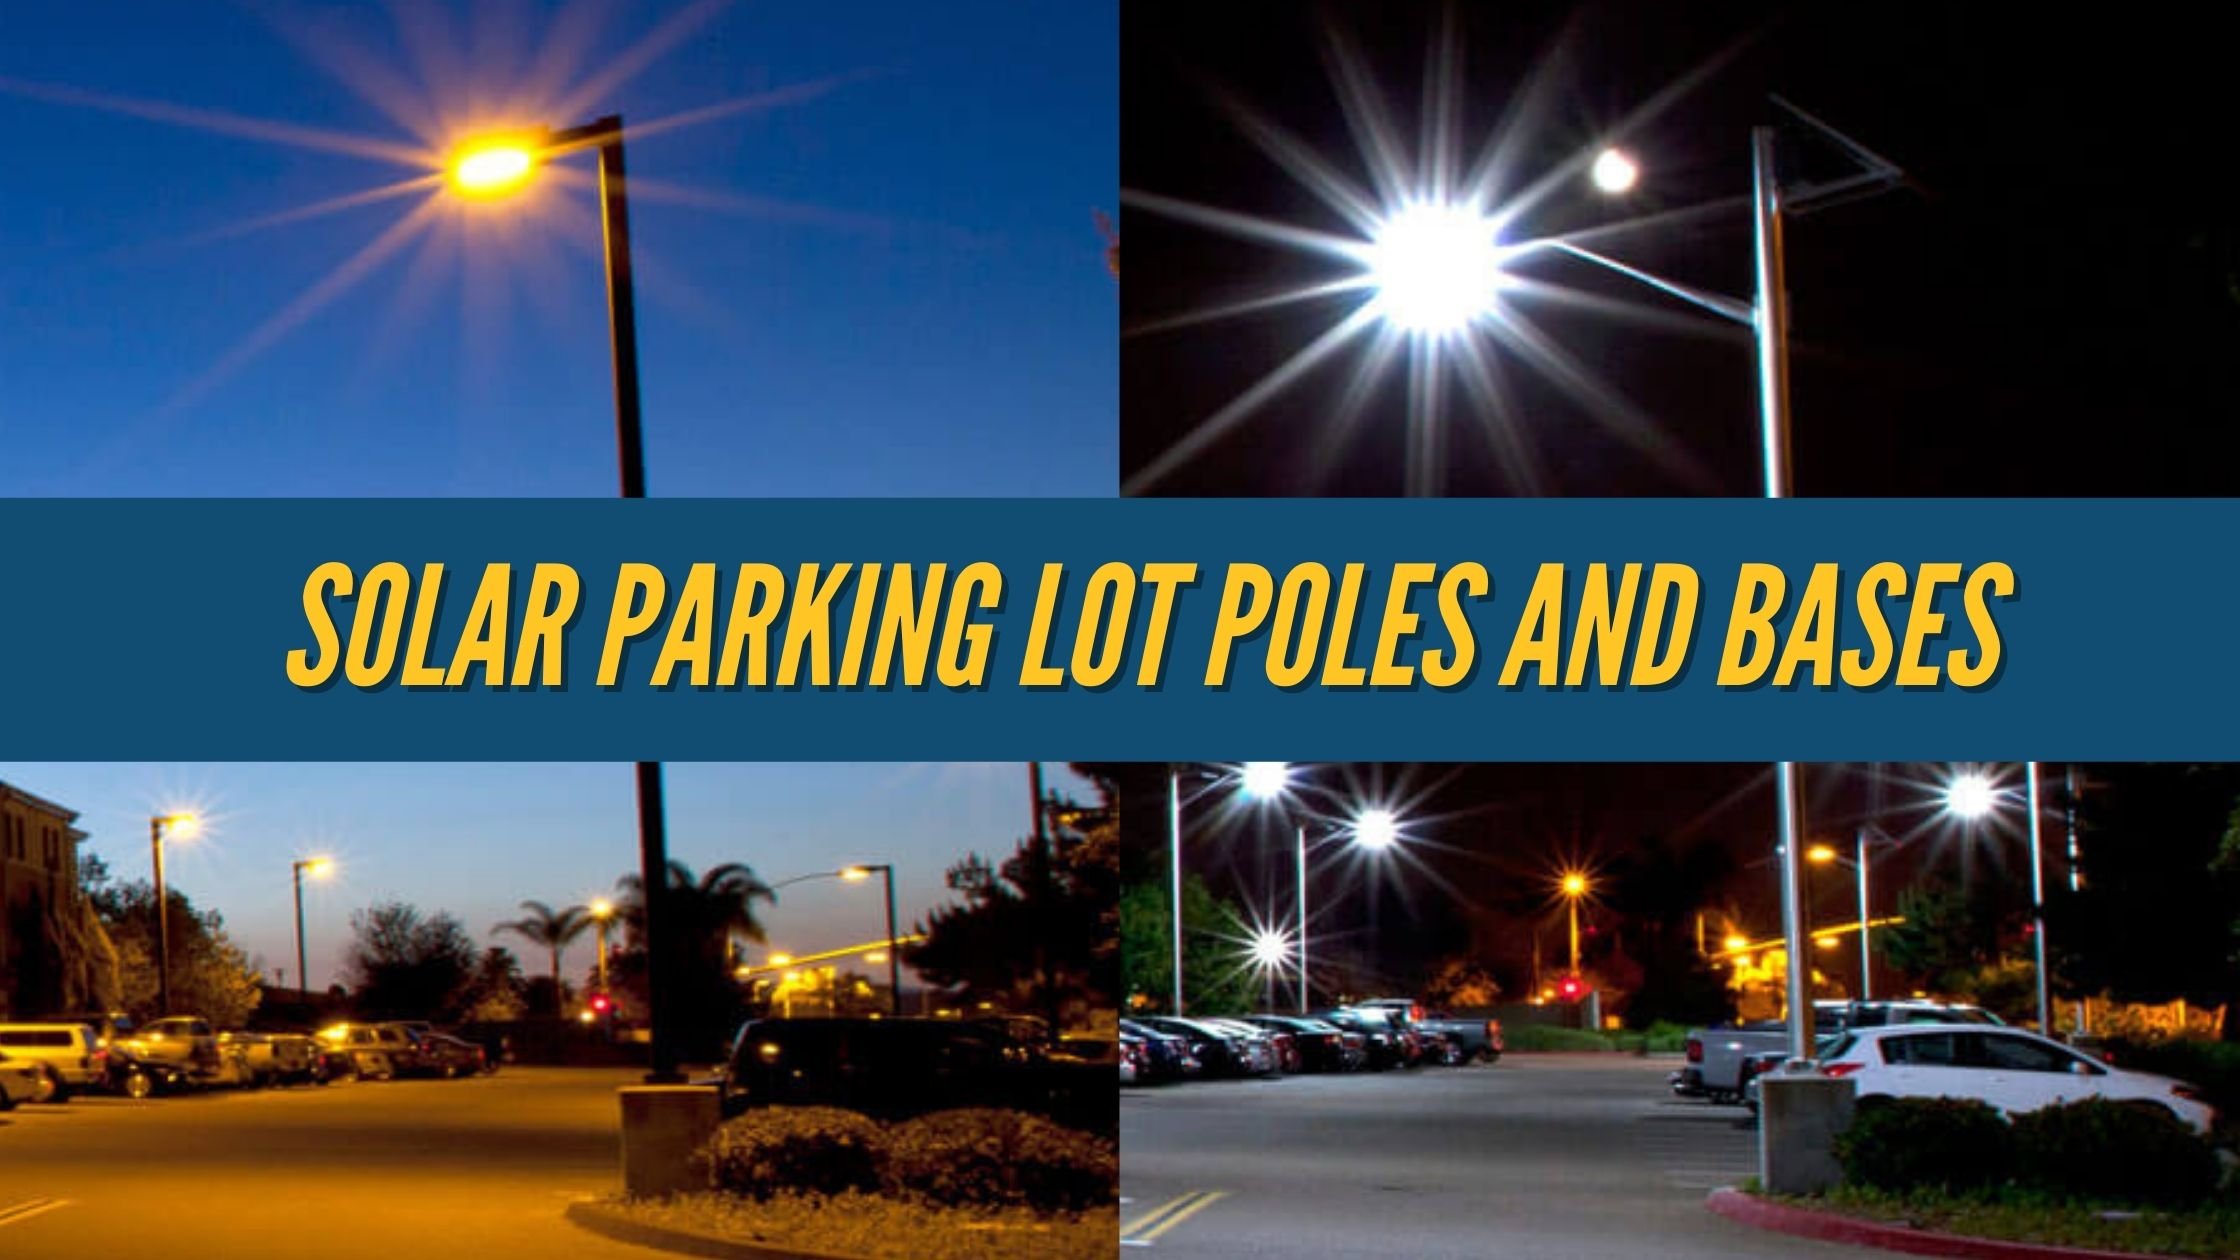 Solar Parking Lot Poles and Bases
There are many occasions where solar lighting is implemented during the design phase or as an afterthought to a dark location. This is fine because all poles and bases are new. However, standard light poles used with solar must have larger bases and more substantial foundations due to the weight and EPA of the solar power assembly.
In some cases, the solar parking lot lighting systems are being implemented because of breaks in the traditional electric lines or to become greener and receive LEED points at a site. Many companies would like to reuse existing poles and foundations; however, this is not recommended. Liabilities can be had for companies that opt for reusing these items as they can be too weak to withstand the additional weight, causing the poles to fall over.
Instead, consulting with a local PE about pole foundations is vital to ensuring there are no liabilities to installing the solar parking lot lighting systems. The bases should also be developed to be above grade in many installations to keep the poles safe from being hit directly by a vehicle in passing or parking. Instead of causing the vibration from being struck, the concrete can absorb some of the force generated by the strike, keeping the pole and system safe from harm.
Conclusion
In conclusion, developing a solar parking lot lighting project can be an extensive undertaking, but taking specific steps and paying attention to variations between manufacturers will guarantee you install the best system for your project needs. Don't hesitate to let your solar manufacturer or design company know the project parameters that are most important to you and get detailed specifications of the equipment you are being offered. Providing plenty of details during the design and quotation process will ensure that your solar company understands your needs and provides you with the best possible system available.
